Django is a web framework developed in Python. It is open source and free to use. Django follows the Model-View-Template (MVT) architectural pattern, which separates the components of an application into three parts: the model, which handles the data; the view, which contains the logic; and the template, which is responsible for presentation.
Before we start, please install these requirements:
- Latest version of Python, currently 3.x.x
- pip (package installer for Python)
- Virtual Environment
- Microsoft Visual Studio Code (VSC) or your preferred IDE for code editor
In this tutorial I use:
- Ubuntu 24.04.2 LTS operating system. Don’t worry, different codes in Windows will be explained but for most part there is no differences.
- Python 3.12.3
- pip 24.0
- Microsoft Visual Studio for IDE
Creating a project
First of all, open your terminal or command prompt.
Create a root folder for your Django project. You can name it whatever you like, but for this example, I will name the root folder “myblog.” The command is very simple, “mkdir YOUR_FOLDER_NAME”.
mkdir myblogGoes into “myblog” folder with instruction “cd”, this is abbreviation from “change directory”
cd myblogTo avoid conflicts with other projects on your system, it’s recommended to use a virtual environment. You can create one named “venv” by entering the following command in the terminal.
python -m venv venvLet’s activate our virtual environment. If you are using Linux, entering command below in terminal.
source venv/bin/activateIf you are using Windows, the activate script is inside folder “venv/Scripts/” and run it like this:
.\venv\Scripts\activateIf your virtual environment is active, the name will appear on the left side of your terminal as shown in the image below.

Install Django using pip
pip install djangoIf you encounter an error on Windows while following the installation instructions above, please try this alternative method instead.
python -m pip install djangoCreate a Django project named “blogproject”. You can change the project name as you wish.
django-admin startproject blogproject .After creating a project, this is how the files and folders inside your root folder, myblog, appear.

At this time, you can run the website with limited features. Execute this command in your terminal within the root folder.
python manage.py runserver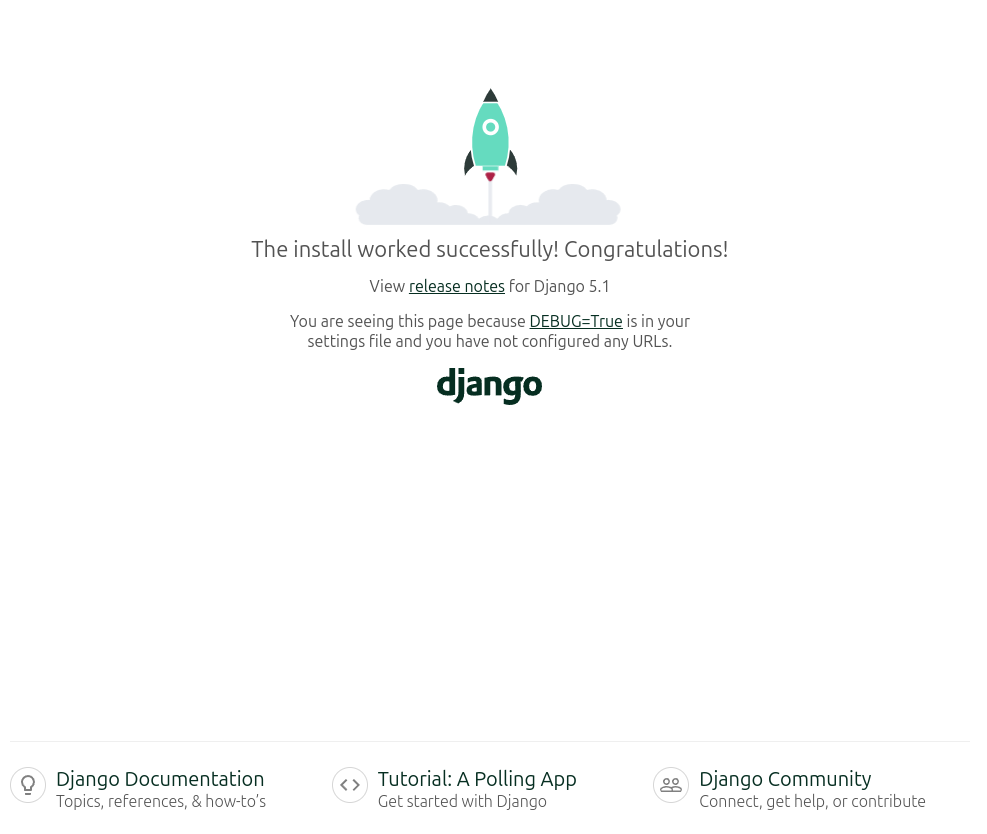
By default, when running in development mode, Django displays the website output on localhost (or 127.0.0.1) at port number 8000. To view the site, open a web browser and enter either http://127.0.0.1:8000 or http://localhost:8000. This will load the webpage as shown in the image below. The 127.0.0.1 refers to the Loopback IP and can be replaced with http://localhost. If you are running the application on a server, you’ll need to use the server’s IP address instead.
Next in part two we will create access to backend admin and make a super user. Part Two